Table of Content
Telecommunications Hybrid and multi-cloud services to deploy and monetize 5G. So this is how we can install Google Assistant on Raspberry Pi and can turn it into a Google Home by connecting a Speaker and microphone to it. Whenever you want to launch Google assistant, just get in the environment and follow the below steps.

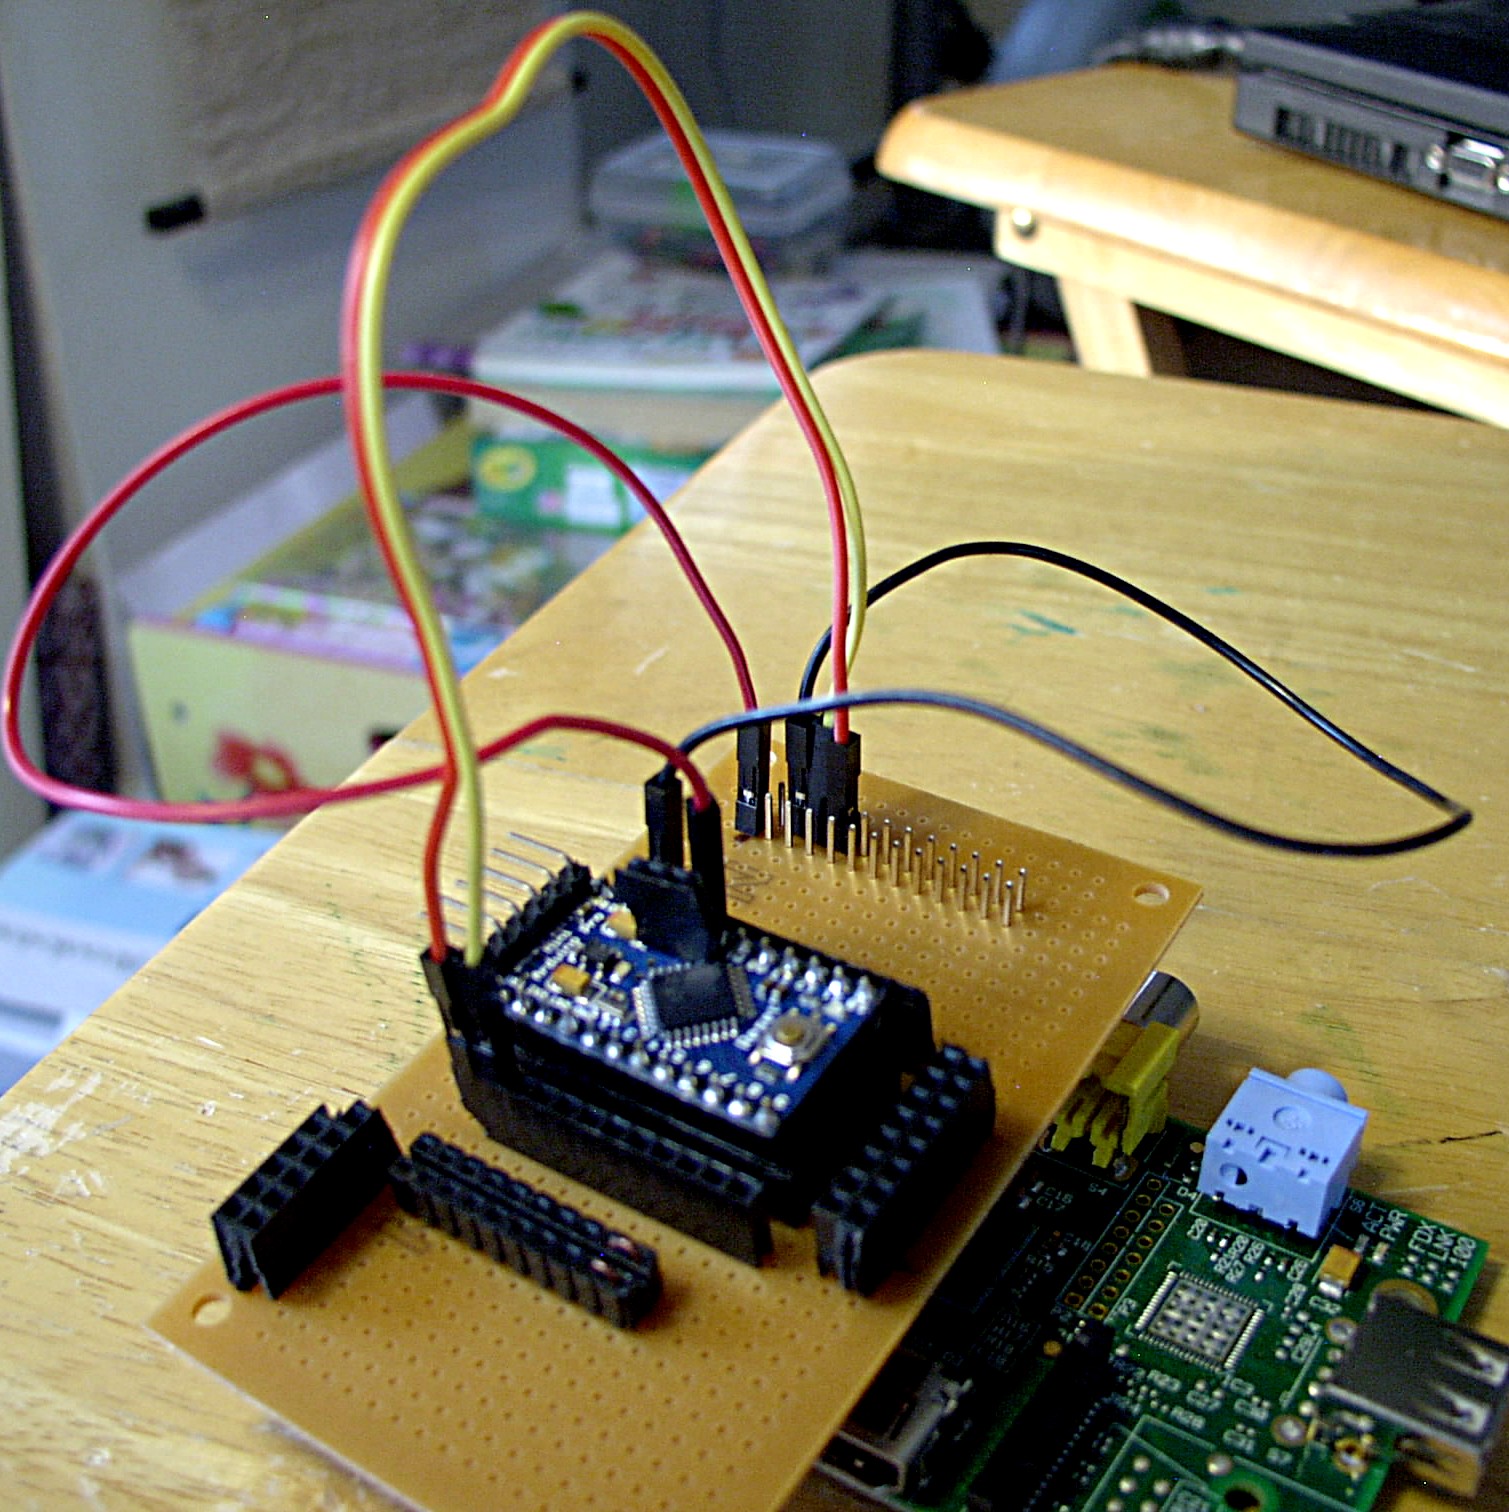
Connect your keyboard and mouse to the Raspberry Pi USB ports. Attach a power source to the Raspberry Pi using the microUSB cable . Ensure that the right project is selected in the upper left. Demonstrate changing configurations on a device bound to a gateway. The following diagram gives a high-level overview of how the device/gateway architecture is structured. Google Cloud's pay-as-you-go pricing offers automatic savings based on monthly usage and discounted rates for prepaid resources.
The Top 7 Open-Source Python IDEs to Program Like a Pro
Private Catalog Service catalog for admins managing internal enterprise solutions. Cost Management Tools for monitoring, controlling, and optimizing your costs. Cloud Shell Interactive shell environment with a built-in command line.
Go to the Dataplicity website and create your account and follow the instructions to add the raspberry pi to the dashboard. Remember that we should only listen at port 80 as dataplicity can forward only port 80 of the raspberry pi. Now we will set up our back-end service to get those queries to open videos and websites on our raspberry pi. Then enter the same parameter name in the actions section. The values mentioned in this section are sent to the webhook as a JSON file, which we need to retrieve in the server to know which website has the user invoked. If you don't have a monitor, keyboard, and mouse connected to the device, you can still control the device remotely via SSH.
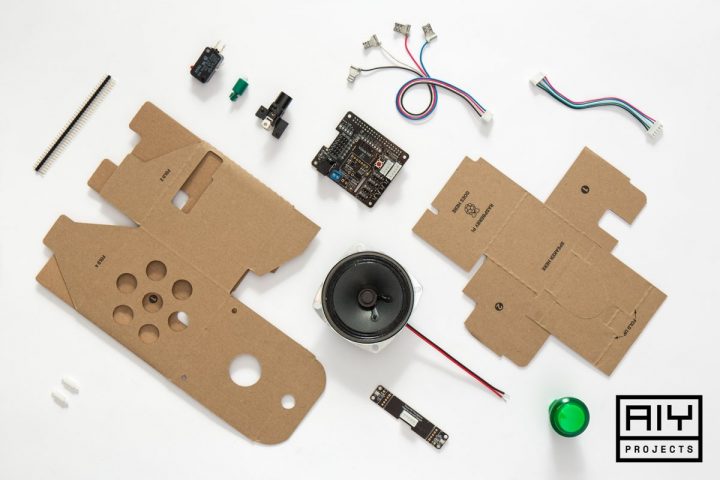
Hardware Required for a Raspberry Pi Home Assistant
These are preconfigured valid states that the LED will respond to, defined in led-light.py. Sending configuration updates from the IoT Core console toggles the LED device through the gateway device. Next, you manage an LED light connected to the gateway through IoT Core configuration updates. Looker Platform for BI, data applications, and embedded analytics. Smart Analytics Generate instant insights from data at any scale with a serverless, fully managed analytics platform that significantly simplifies analytics. Rapid Assessment & Migration Program End-to-end migration program to simplify your path to the cloud.
Controlling their fireplace, so I thought I'd show you my own approach. You've got quite a journey ahead of you to get this project working, but don't get discouraged! There's a lot you'll know on the other side of this project that will be useful in future projects you want to take on. Your Google Home now knows how to communicate over HTTP with your smart device.
Now that you are connected to the internet, update your Pi
Architect for Multicloud Manage workloads across multiple clouds with a consistent platform. Modernize Traditional Applications Analyze, categorize, and get started with cloud migration on traditional workloads. Government Data storage, AI, and analytics solutions for government agencies. Supply Chain and Logistics Digital supply chain solutions built in the cloud.

Select your registry, and then select led-light. You don't need to enter a public key since the device will be authenticated through the gateway. Modify the run-gateway script by providing arguments for registry_id and device_id if you chose different names for those.
There are plenty of ways you could make that work! I wanted mine to use a website or use voice control, but you could definitely find some way to get a button to trigger IFTTT. I suspect that most buttons that support Alexa would be good candidates, or you could find a way to do it directly through the Pi. First things first - I'd recommend trying to download the server first and run it on your computer. It can be harder to experiment and iterate directly on the pi, and this seems to be your first experience with a server.
Could you not create an application similar to the google home app to connect to it? Might be a lot of work, but it’s a possibility. You can set up a second Raspberry Pi or another internet enabled device to act as the gateway for a more realistic example. The topic should have received a lot of messages from both the LED and DHT22. In practice, services that ingest data from Pub/Sub should process that data in regular intervals as telemetry events are published.
Follow thisguide from Raspberry Pifor connecting remotely. With SSH you can only operate the Pi using the terminal. There are lots of benefits to using SSH and running your Pi without the Desktop at all but it does require you to be very familiar with using the terminal. If you are using the Pi with monitor, keyboard, and mouse thenlog into your Wi-Fias you would on a regular computer.
Making statements based on opinion; back them up with references or personal experience. I got the server to say that its listening to port xxxx but when I try to use it in the browser it says connection refused. If you know how to automate or simplify a step, or other improvements, feel free to make a pull request. If nothing happens, download GitHub Desktop and try again. The reason why Association Only was chosen when creating the gateway is so that the device does not have to store its own JWT when authenticating to IoT Core. You can read more about authentication methods here.
So, to make this guide as user-friendly as possible, I'm going to include some links that you power-users might find excessive.

Create and activate your virtual environment. Make sure to run the last step whenever you open a new tab to activate the virtual environment. Download Raspberry Pi software and follow the installation guide to flash Raspberry Pi OS onto your microSD card. First, create a device registry that will contain your gateway and devices. All Storage Products Cloud-based storage services for your business.
Security and Resilience Framework Solutions for each phase of the security and resilience life cycle. Web App and API Protection Threat and fraud protection for your web applications and APIs. Active Assist Automatic cloud resource optimization and increased security.


No comments:
Post a Comment